
Starting your makeup journey can feel overwhelming with all the brushes, products, and techniques to learn. Everyone begins somewhere, and knowing a few essential tips can make the process much easier and more enjoyable. These practical makeup tips will help beginners create beautiful looks while building confidence in their skills.
1. Prep Your Canvas First
Cleanse, tone, and moisturize your face before applying any makeup. This creates a smooth base for products to glide on effortlessly.
Think of skincare as the foundation of good makeup application. When your skin is hydrated and smooth, your makeup will look more natural and last longer throughout the day.
2. Find Your Perfect Foundation Match

Test foundation along your jawline, not your wrist. The jawline shows your true skin tone without the redness often found on wrists.
Natural lighting reveals the most accurate color match. What looks great in store lighting might appear totally different outdoors, so always check your foundation in daylight before purchasing.
3. Blending Is Your Best Friend
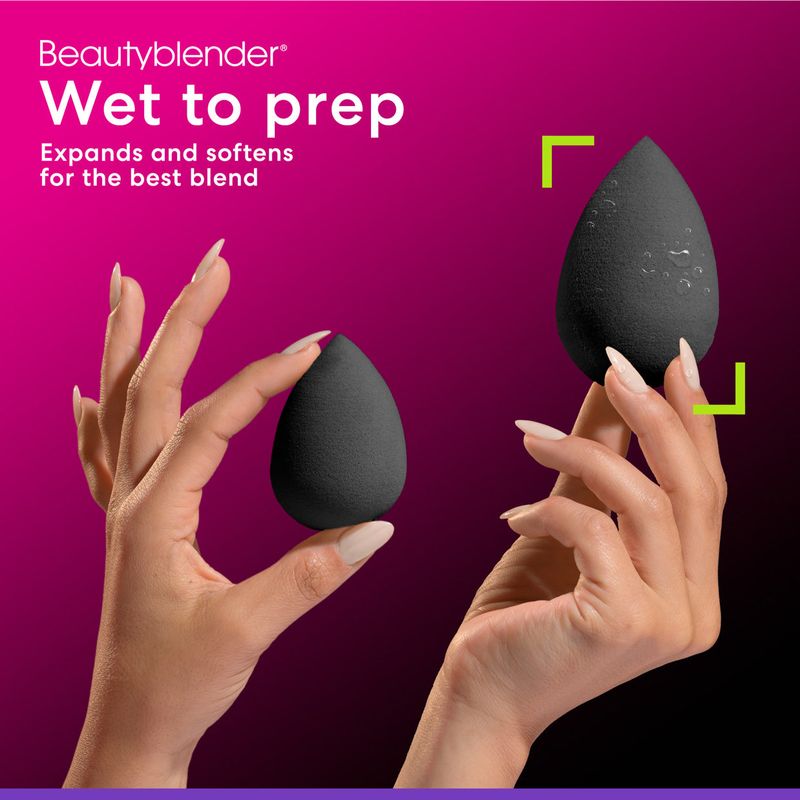
Harsh lines are makeup’s worst enemy. Whether it’s eyeshadow, foundation, or blush, blend until edges disappear.
A beauty sponge slightly dampened with water creates airbrushed-looking skin. For eyeshadow, clean fluffy brushes work wonders to diffuse color and create professional-looking transitions between shades.
4. Master The Art Of Concealer
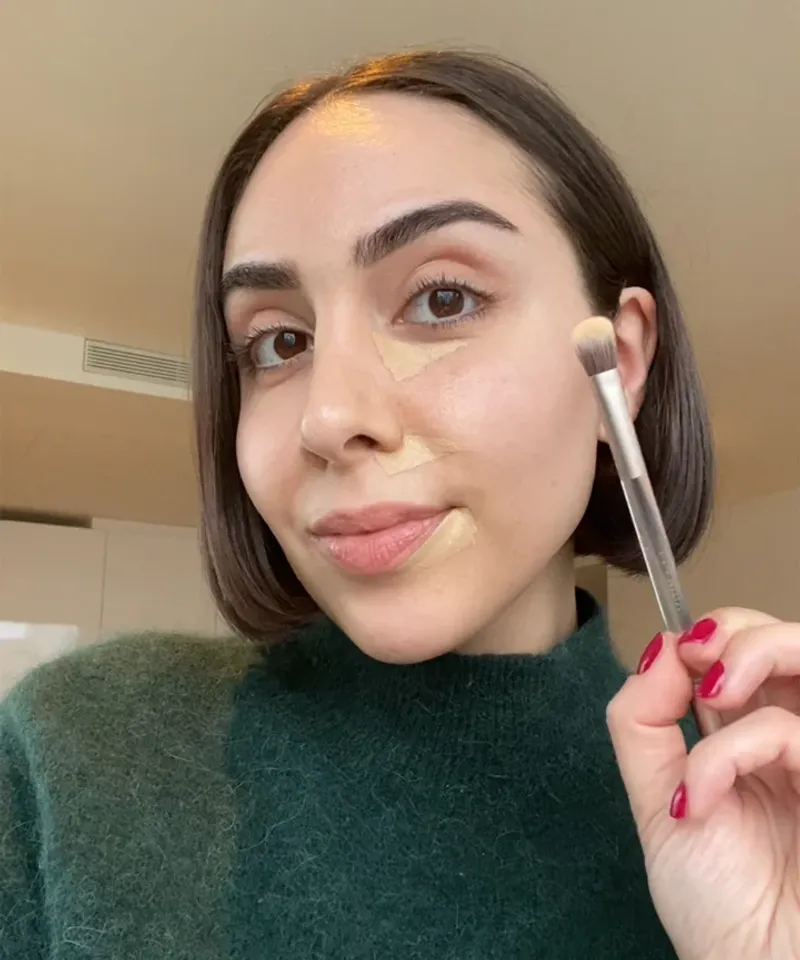
Apply concealer in a triangle shape under eyes, not just on dark circles. This brightens your entire face and looks more natural.
For blemishes, use a tiny brush to dot concealer precisely where needed. Pat gently with your finger to blend rather than wiping, which can remove the coverage you’re trying to create.
5. Eyebrows Frame Your Face
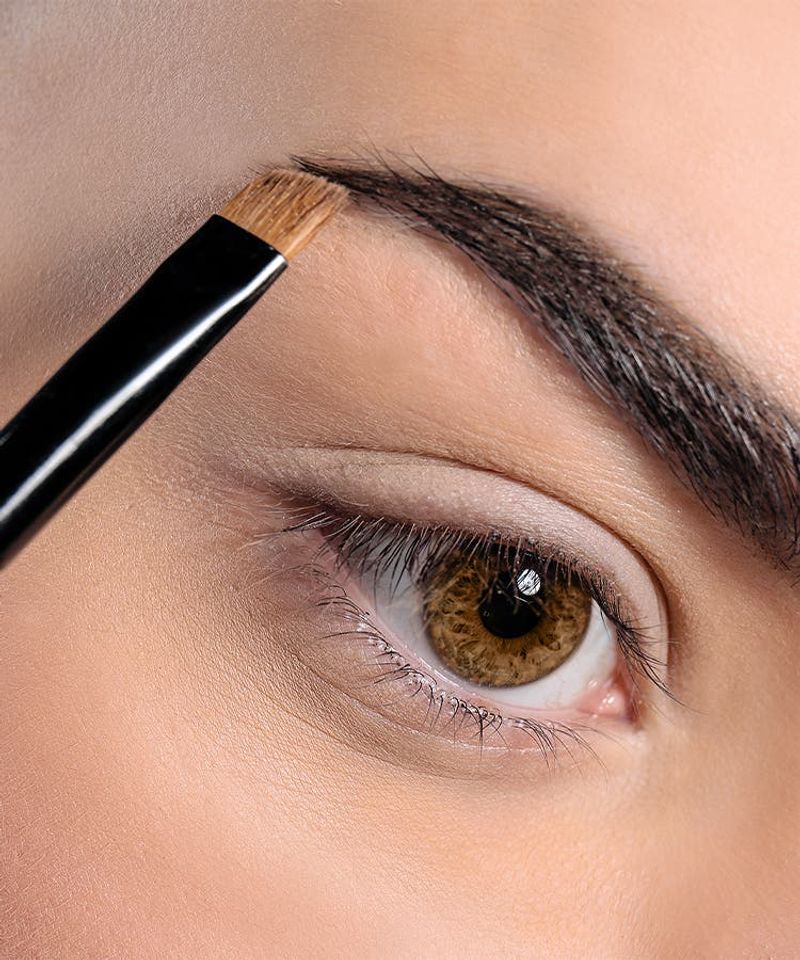
Brush brows upward before filling them in to see their natural shape. This helps you enhance what’s already there instead of creating an entirely new brow.
Use short, hair-like strokes with a pencil for the most natural look. Remember, brows should be sisters, not twins—slight asymmetry is completely normal!
6. Eyeliner For Beginners
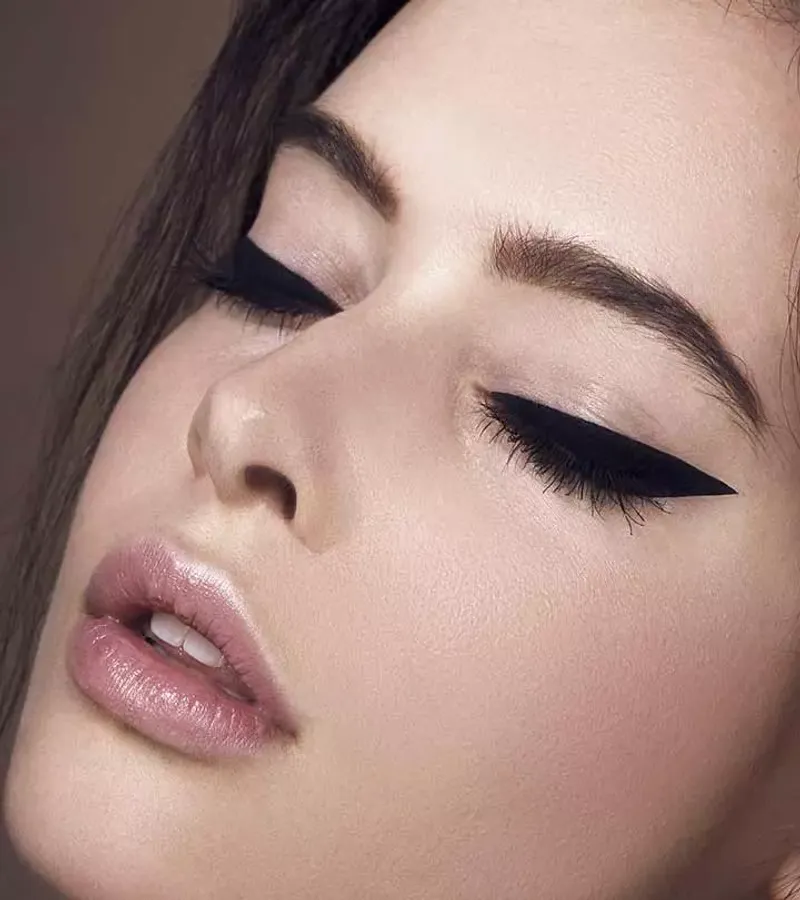
Start with a pencil liner instead of liquid for easier application and control. You can always smudge it for a softer look if lines aren’t perfect.
Try the dot method: make small dots along your lash line, then connect them. This creates a straighter line than trying to draw one continuous stroke when your hand isn’t steady yet.
7. Curl Those Lashes
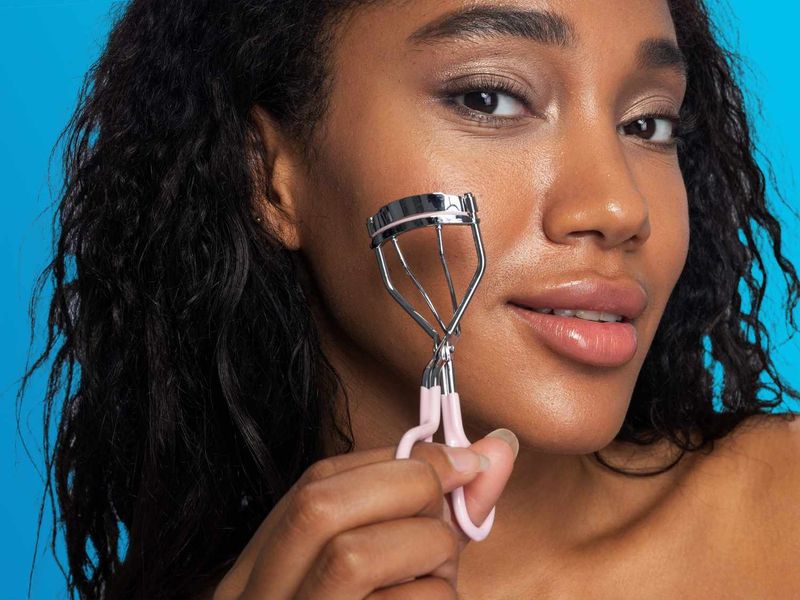
A lash curler makes your eyes look instantly more awake. Position it at the base of your lashes, squeeze gently for 10 seconds, then release.
Warm your curler with a hair dryer for 3 seconds before using (test on your hand first!). The gentle heat helps lashes hold their curl longer, just like a curling iron works on hair.
8. Mascara Magic Tricks
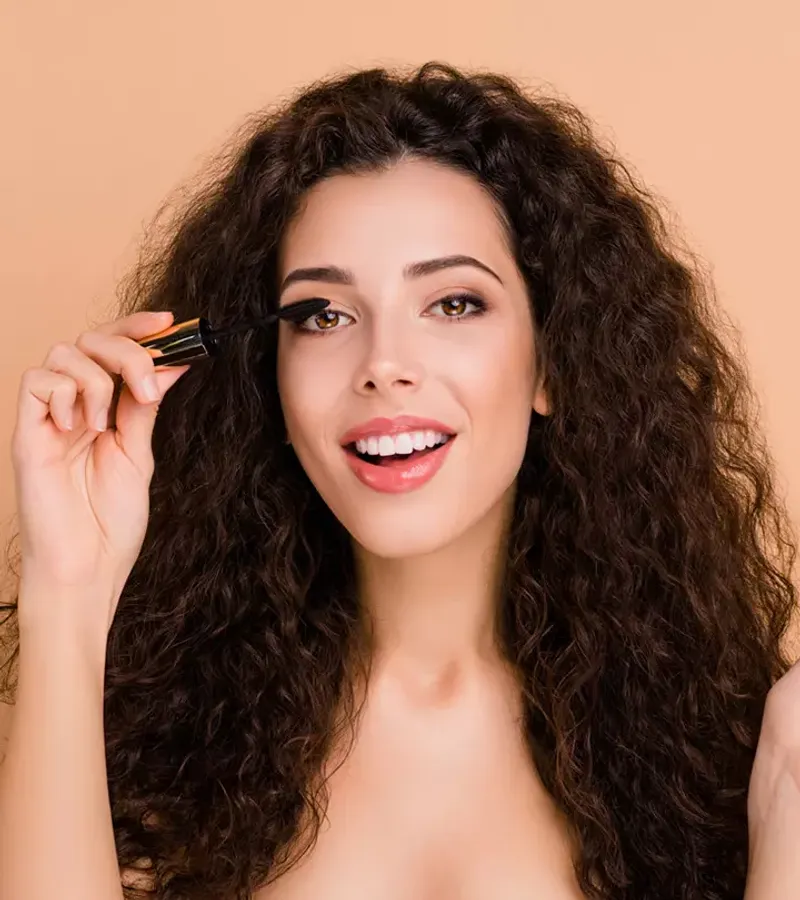
Wiggle the mascara wand at the base of your lashes before sweeping upward. This deposits more product at the roots, creating the illusion of thicker lashes.
Looking down into a mirror while applying mascara to your top lashes prevents smudges on your eyelids. For bottom lashes, hold the wand vertically for more precise application.
9. Blush Placement Matters
Smile and apply blush to the apples of your cheeks, then blend upward toward your temples. This creates a natural flush that lifts your face.
Different face shapes benefit from different blush placement. Round faces look great with blush swept along the cheekbones, while heart-shaped faces look balanced with blush focused on the outer apples.
10. Lipstick Application Secrets
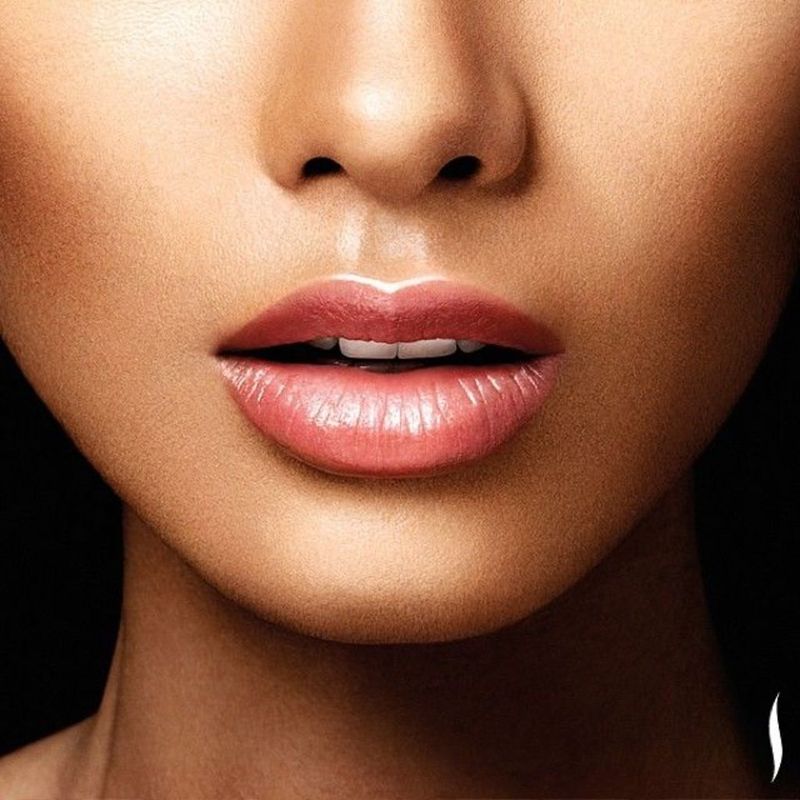
Exfoliate lips with a soft toothbrush or sugar scrub before applying lipstick. Flake-free lips ensure smooth color application.
Use a lip liner in a similar shade to prevent feathering. For extra precision around the cupid’s bow, try drawing an X shape first, then fill in the rest of your lip outline.
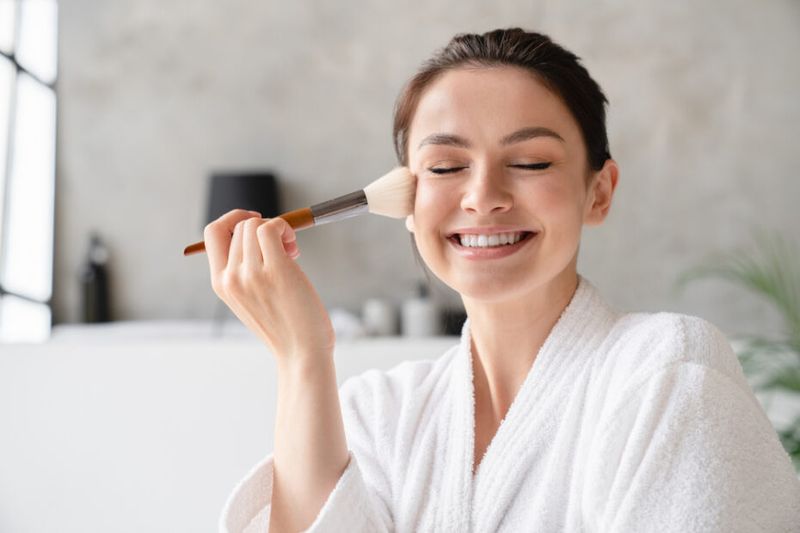
11. Setting Powder Techniques
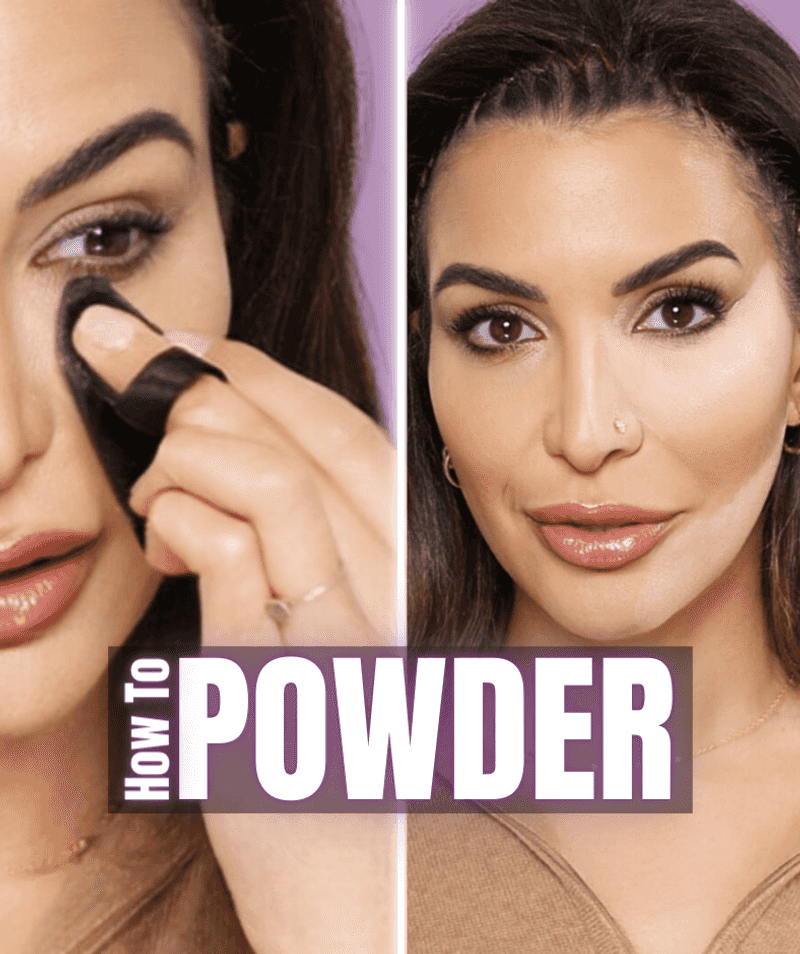
Apply setting powder with a pressing motion rather than sweeping. This sets makeup without disturbing your foundation and concealer underneath.
Focus powder on oily areas like your T-zone, using less on drier parts of your face. For a natural finish, use a damp beauty sponge to press translucent powder into skin.
12. The Right Tools Make A Difference
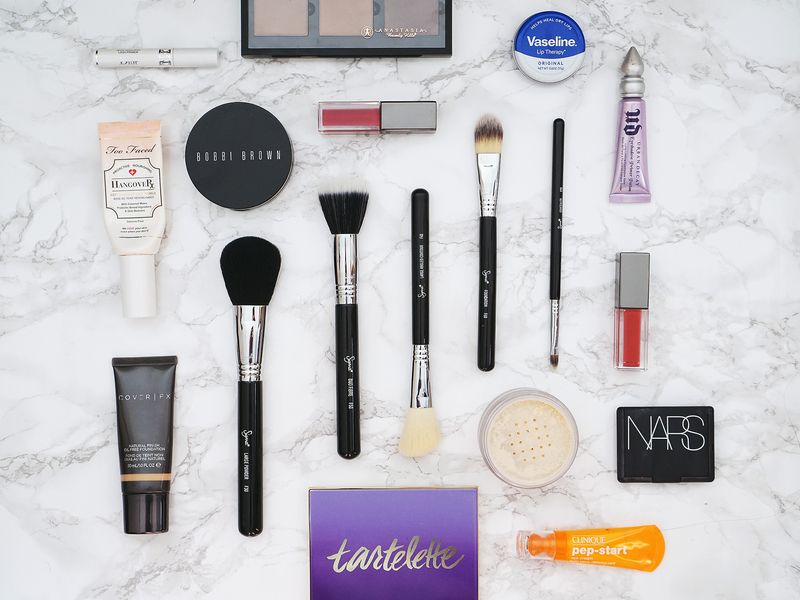
Quality brushes don’t have to be expensive, but they dramatically improve application. Synthetic brushes work well for liquid products, while natural hair brushes blend powders beautifully.
Clean your brushes weekly with gentle shampoo. Not only does this prevent breakouts, but clean brushes also apply makeup more evenly and make your products last longer.
13. Eyeshadow Application Order
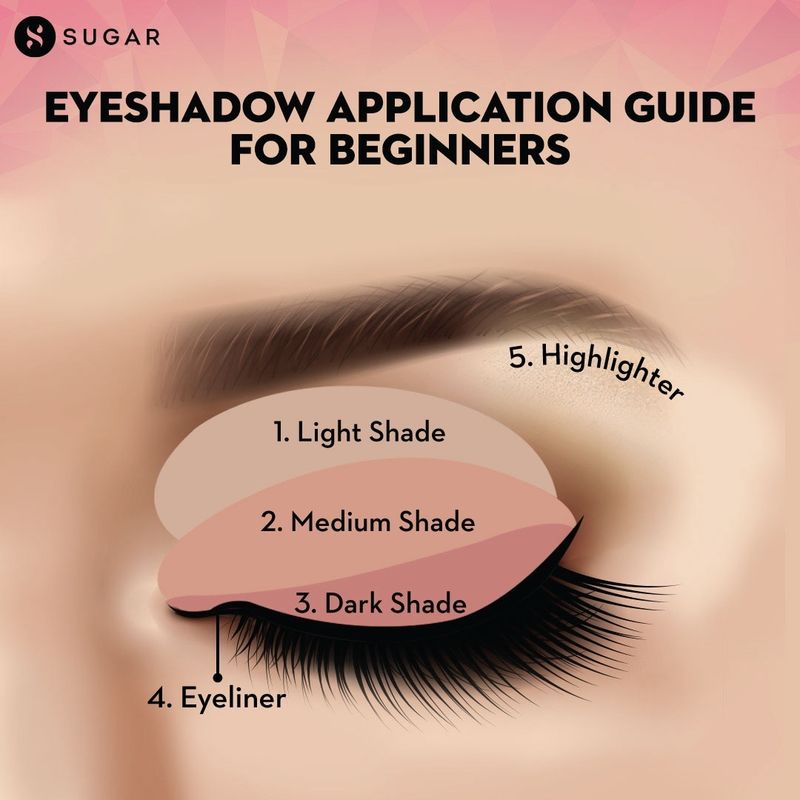
Apply lightest shades first, then build up with medium tones, finishing with the darkest colors. This creates dimension and makes blending easier.
Place darker shades on the outer corner of your eye in a V-shape for depth. The lightest shade goes on the inner corner and under the brow bone to brighten and lift your eyes.
14. Highlighting For Subtle Glow
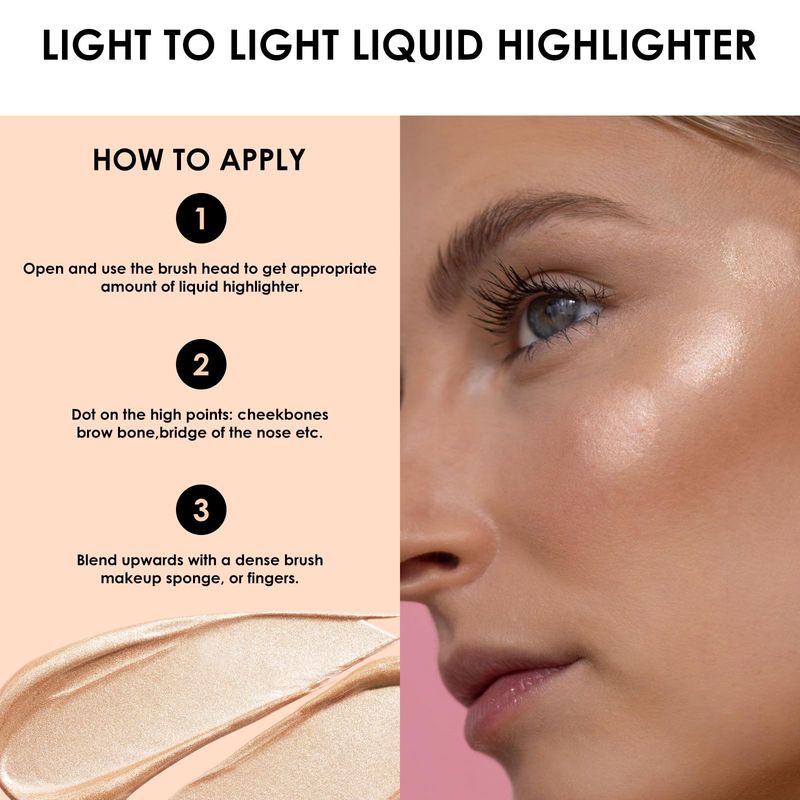
Apply highlighter to the high points of your face where light naturally hits: cheekbones, brow bone, center of forehead, bridge of nose, and cupid’s bow.
For everyday looks, choose a subtle shimmer rather than glitter. Liquid highlighters create a dewy, natural glow while powders offer more intensity and staying power.
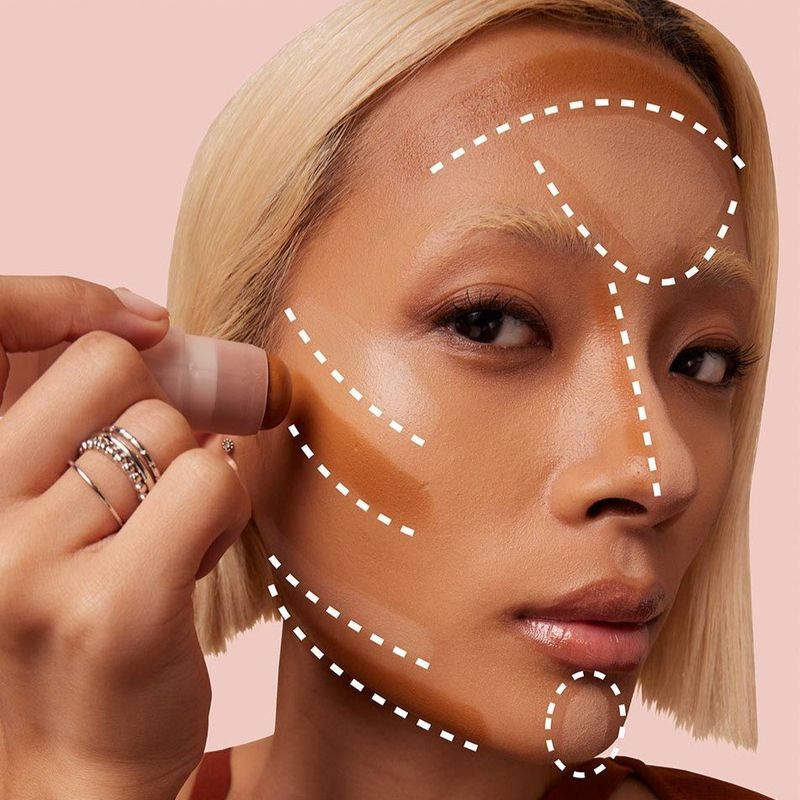
15. Contouring For Beginners
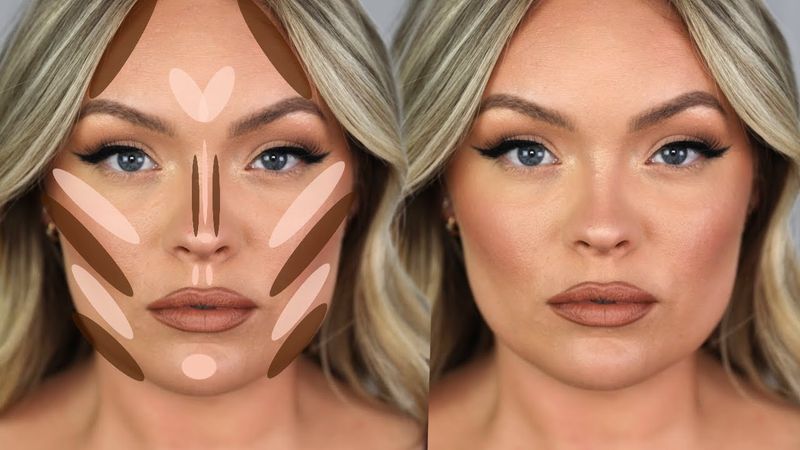
Start with a contour powder just 1-2 shades darker than your skin tone. Anything darker creates harsh lines that are difficult to blend.
Suck in your cheeks to find the natural hollow, then apply contour just beneath your cheekbones. A fluffy brush helps diffuse the product for a natural shadow effect rather than obvious stripes.
16. Makeup Setting Spray Benefits

Setting spray locks your makeup in place for hours. Hold the bottle about 8 inches from your face and spray in an X and T formation.
Different sprays offer different finishes – dewy, matte, or natural. For hot weather or special occasions, look for waterproof formulas that stand up to sweat and humidity without smudging.
17. Color Correcting Simplified
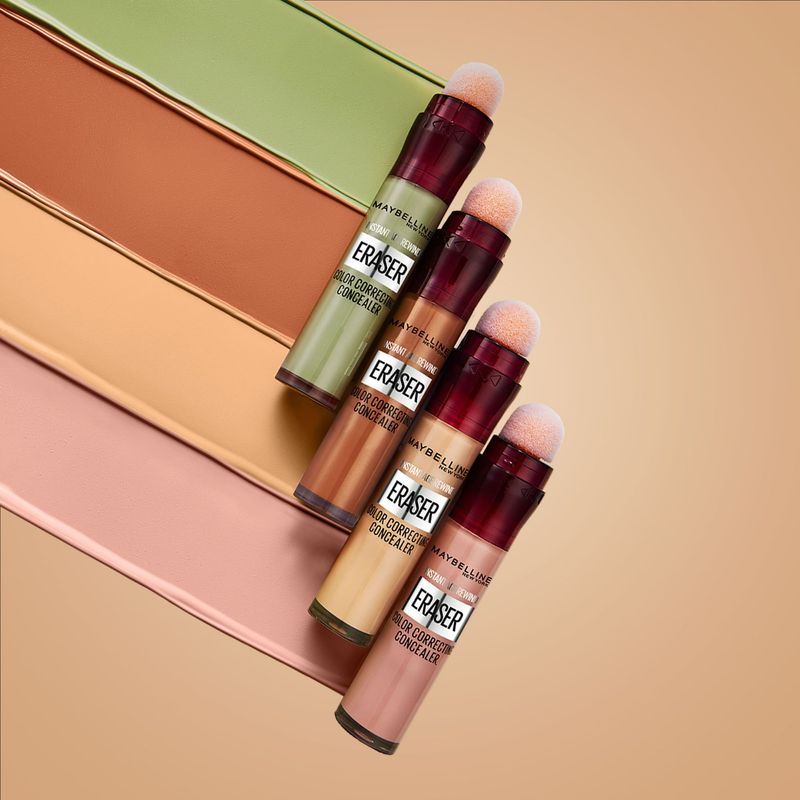
Green neutralizes redness from blemishes or rosacea. Peach or orange correctors disguise dark circles, especially on deeper skin tones.
Apply color correctors sparingly before foundation, not after. A tiny dot blended well works better than thick layers that can look cakey. Remember: you’re neutralizing discoloration, not painting your face.
18. Less Is More For Beginners
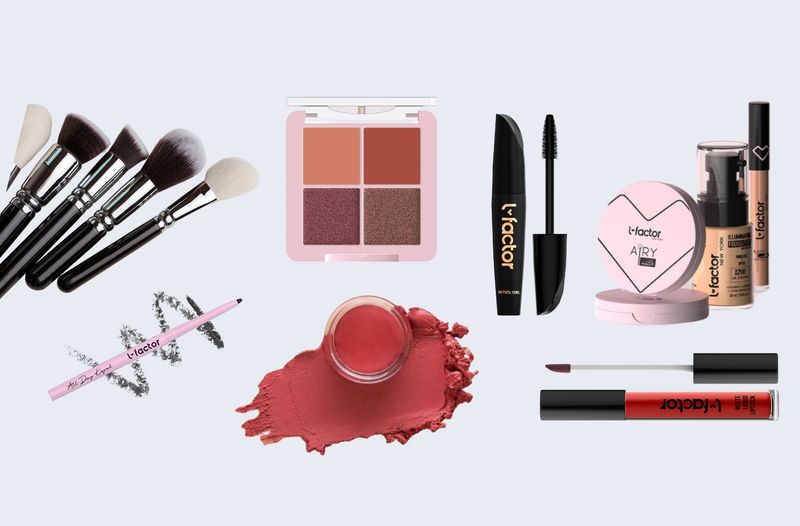
Start with minimal products and build your collection as your skills improve. Foundation, concealer, mascara, and lip color create a polished look with just four items.
Apply products in thin layers. You can always add more, but removing excess product often means starting over. This approach creates a natural finish that doesn’t look heavy or cakey.
19. Practice Makes Perfect
Try new techniques when you have plenty of time, not right before an important event. Evening practice sessions let you experiment without pressure.
Take photos in different lighting to see how your makeup truly looks. Phone cameras can reveal blending issues or mismatched foundation that might not be obvious in your bathroom mirror.
20. Makeup Has No Rules
Experiment with colors and techniques that make you happy. Makeup should be fun, not stressful!
Guidelines exist to help beginners, but they’re not commandments. As your confidence grows, feel free to break conventional “rules” and develop your personal style. The best makeup is the kind that makes you feel amazing.