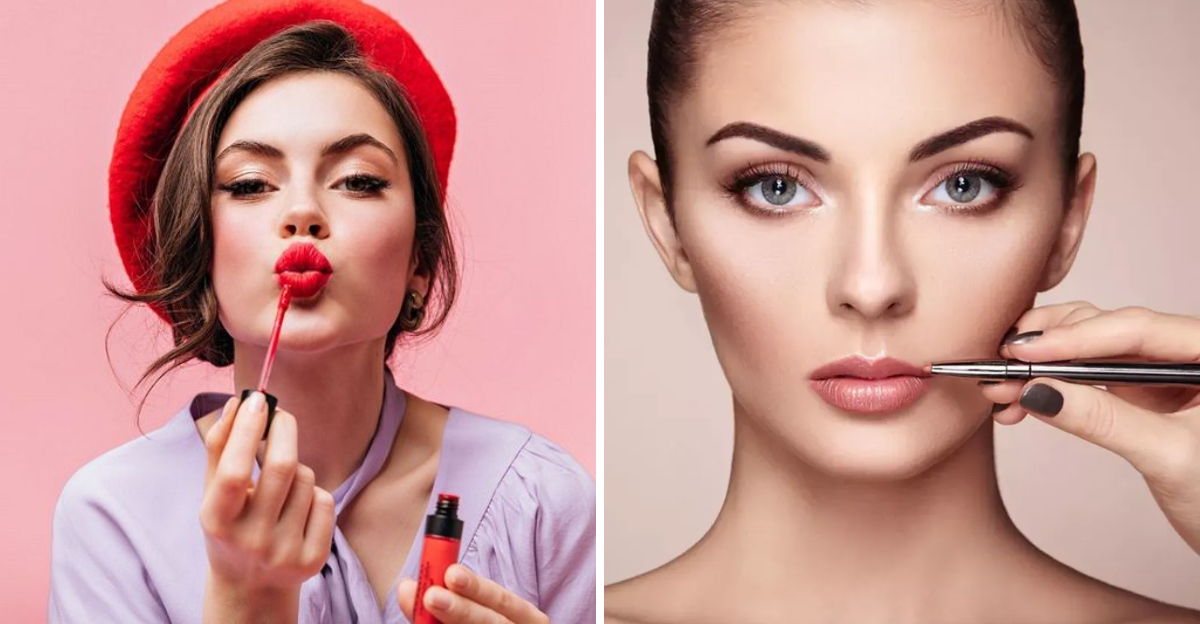
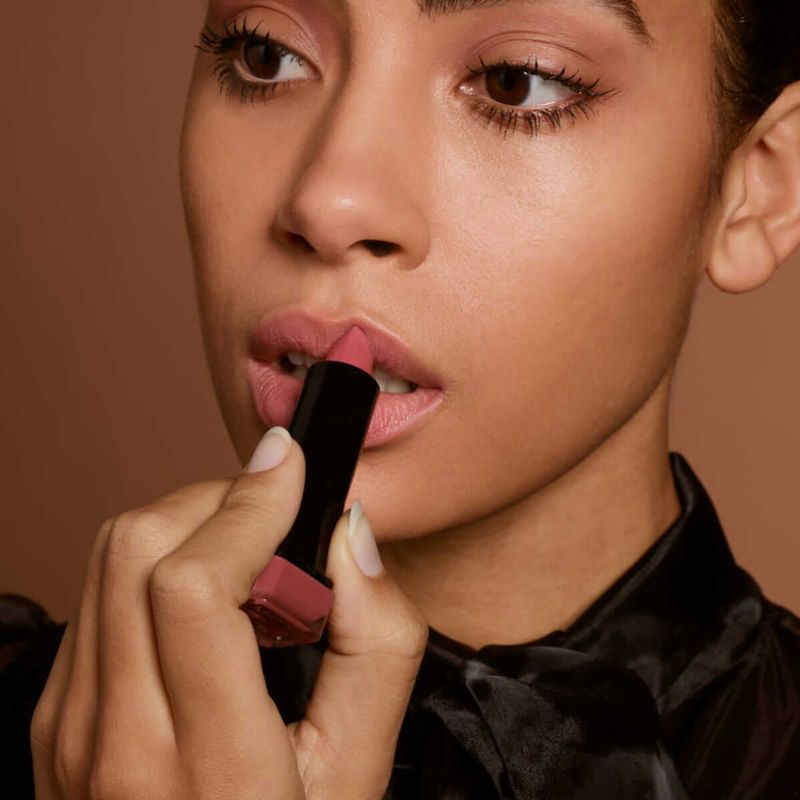
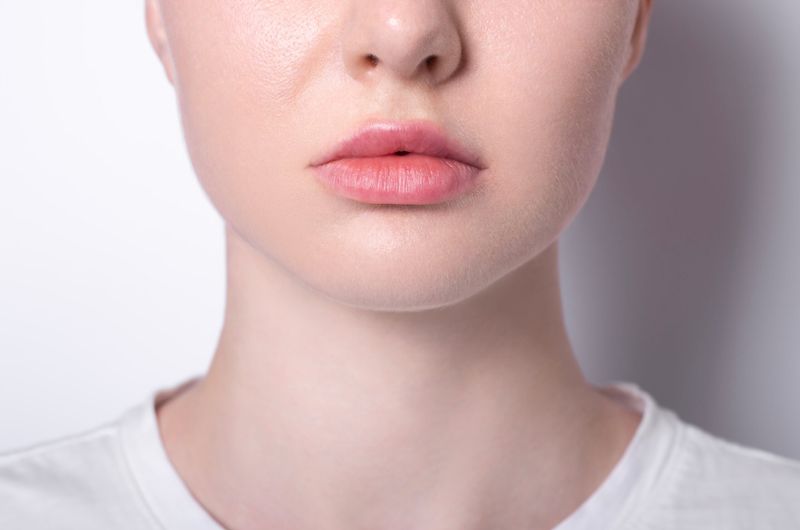
Ever noticed how lipstick looks different on your friends compared to you? That’s because our lip shapes are as unique as our fingerprints! Understanding your lip shape is the secret weapon to making your pout pop with makeup. Let me share my pro tips for enhancing every lip shape out there, so you can rock that lipstick with confidence!
1. Map Your Lip Territory

Before diving into any makeup look, take a moment to really examine your lips in the mirror. Are they full? Thin? Asymmetrical? Heart-shaped?
Knowing your natural shape is step one to lip makeup mastery. I’ve seen countless clients transformed simply by working with their natural features rather than fighting them!
2. Thin Lips Need Overdrawn Magic
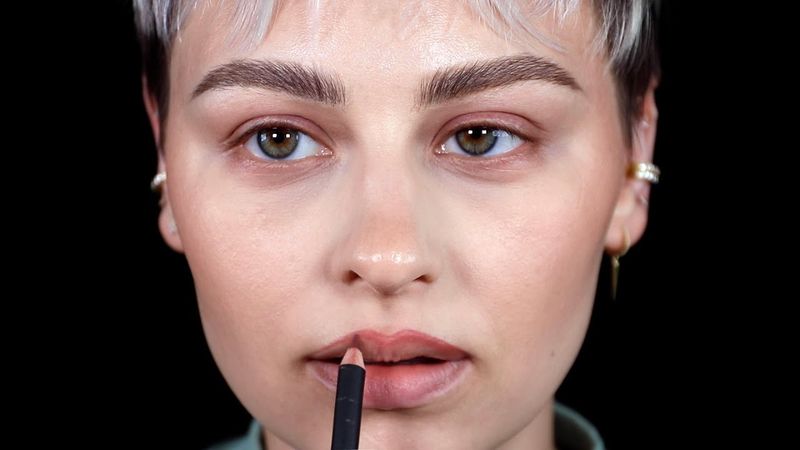
Though conventional wisdom says to follow your natural lip line, thin-lipped beauties can benefit from strategic overdrawing. Pick a neutral liner just slightly darker than your lips.
Carefully trace just outside your natural border—about 1-2 millimeters max. Trust me, subtle is the keyword here; we want plumper lips, not a clown look!
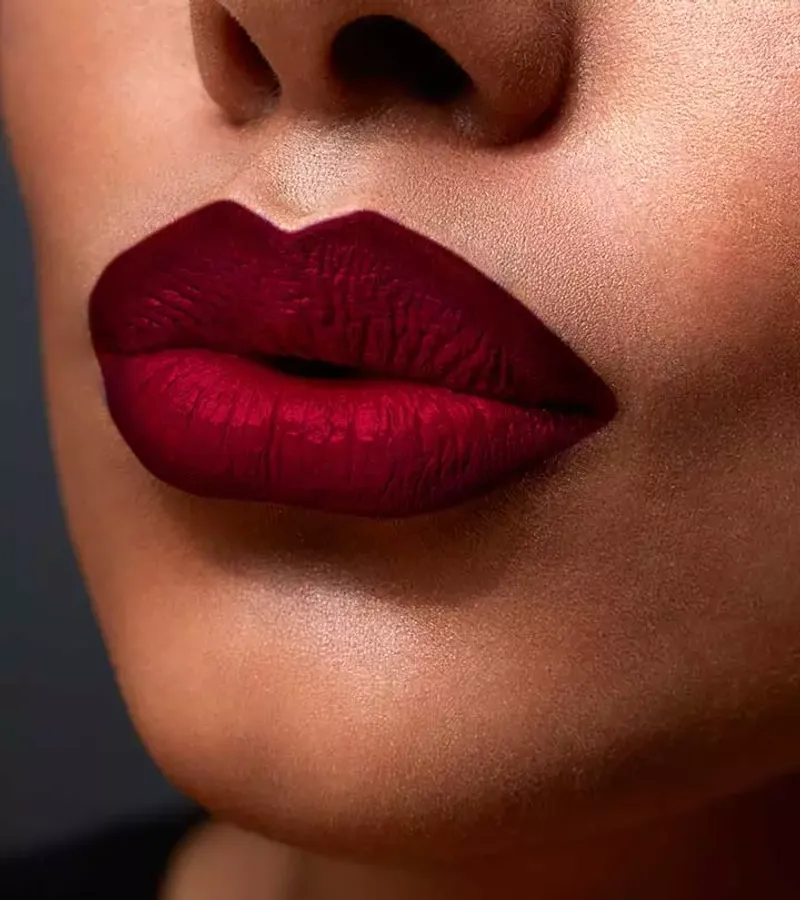
3. Full Lips? Embrace The Volume!
Blessed with naturally plump lips? Lucky you! Your canvas allows for bold color choices that thinner-lipped folks might shy away from.
However, skip heavy overlining—you’ve already got what others want! Instead, focus on definition with a matching liner to prevent feathering. My celebrity clients with full lips always get compliments when they rock rich berries and reds.
4. Heart-Shaped Lip Enhancement
If your upper lip forms a defined cupid’s bow while your bottom lip is fuller, you’ve got heart-shaped lips! Your mission: create balance without losing that distinctive bow.
Fill in the corners of your upper lip slightly to match your lower lip fullness. I once transformed a bride’s pout this way—she couldn’t believe how harmonious her smile looked in wedding photos!
5. Uneven Lips? No Problem!
Asymmetrical lips are actually super common! The trick is using liner to create the illusion of evenness. Where one side seems smaller, slightly overdraw; where fuller, stick to the natural line.
Blend well with a small brush after applying lipstick. My clients are always amazed at how this simple technique makes their smile appear more symmetrical!
6. Wide Lips Need Central Focus
If your lips extend far toward the corners of your mouth, focus color application on the center of your lips. Apply lipstick directly to the middle, then blend outward with your finger.
Avoid dark colors at the corners—they’ll only emphasize width. I’ve used this trick on Broadway performers who need their expressions visible from the back row!
7. Narrow Lips Love Horizontal Help
Narrow lips benefit from techniques that create an illusion of width. Highlight the centers of both lips with a touch of gloss or slightly lighter lipstick shade.
Also, extend your lip color slightly at the corners—the opposite approach from wide lips! When I used this trick on a magazine shoot, the model’s transformation was so dramatic the editor asked what filler we’d used!
8. Downturned Corners? Turn That Frown Upside Down!
If your lip corners naturally turn downward, giving a slight frown appearance, here’s my favorite fix: Apply concealer at the very corners, then slightly overdraw those areas upward.
Keep the adjustment minimal—just enough to neutralize the downward pull. My clients often say this tiny change makes them look instantly happier and more approachable!
9. The Perfect Neutral For Your Undertone
Finding your ideal neutral lipstick isn’t about what’s trending—it’s about your unique undertones! If you have warm skin, peachy-brown shades will look natural.
Cool undertones? Reach for pinks and mauves instead. Neutral folks can play both sides! When I matched a client perfectly after years of wrong shades, she actually teared up at the mirror!
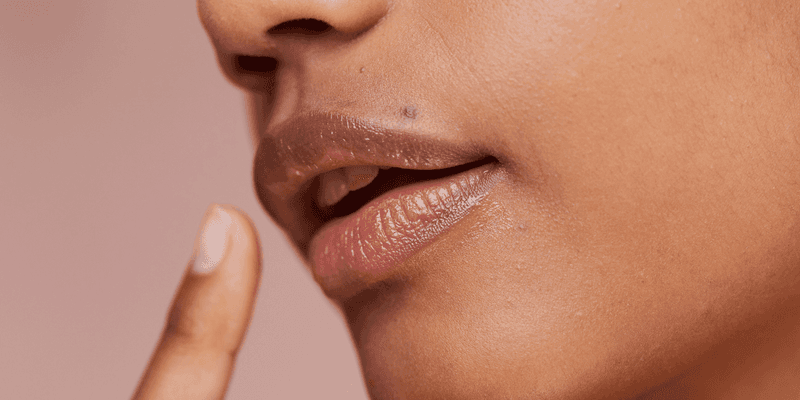
10. Exfoliation: The Unsung Lip Hero
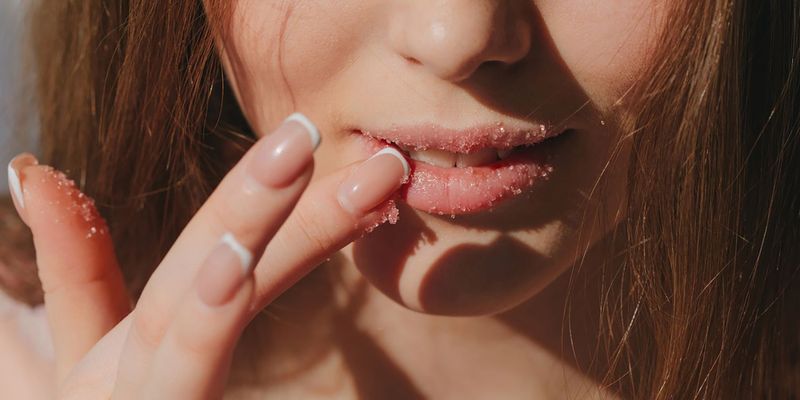
Smooth canvas = flawless lipstick application! Gently buff away flaky skin using a soft toothbrush or sugar scrub once weekly.
Follow immediately with a hydrating balm. Skip this step and even the priciest lipstick will look patchy. I never start a client’s makeup without prepping their lips first—it’s that crucial!
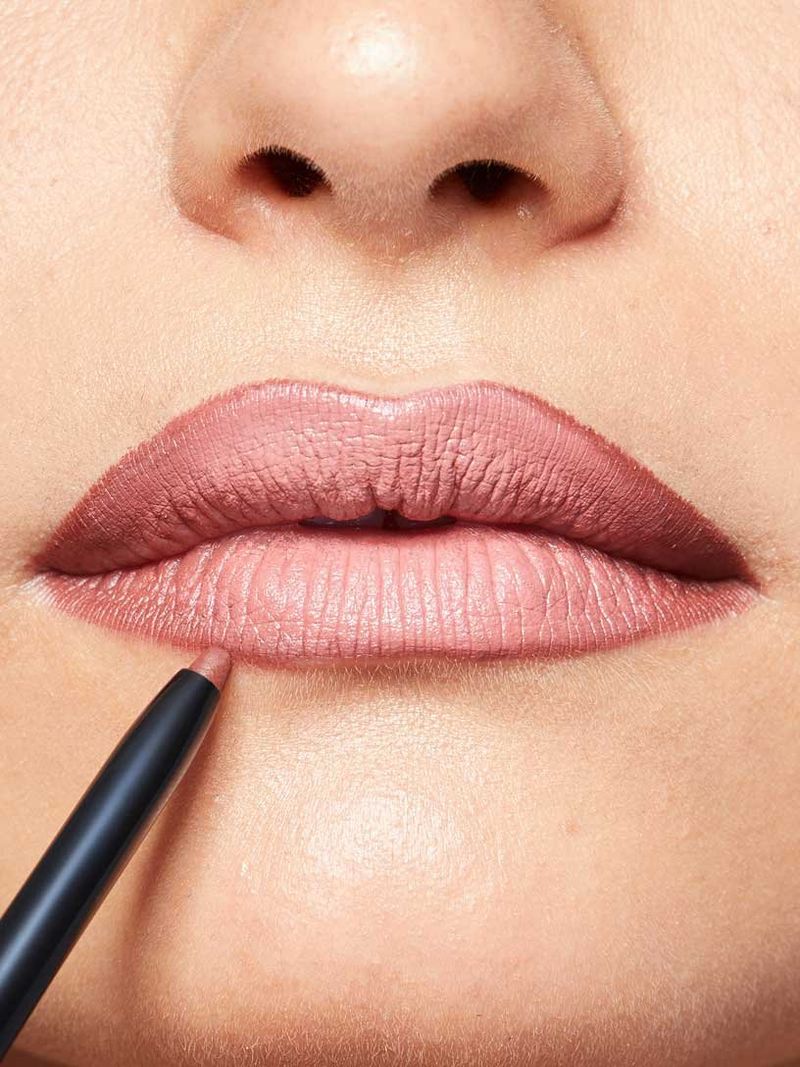
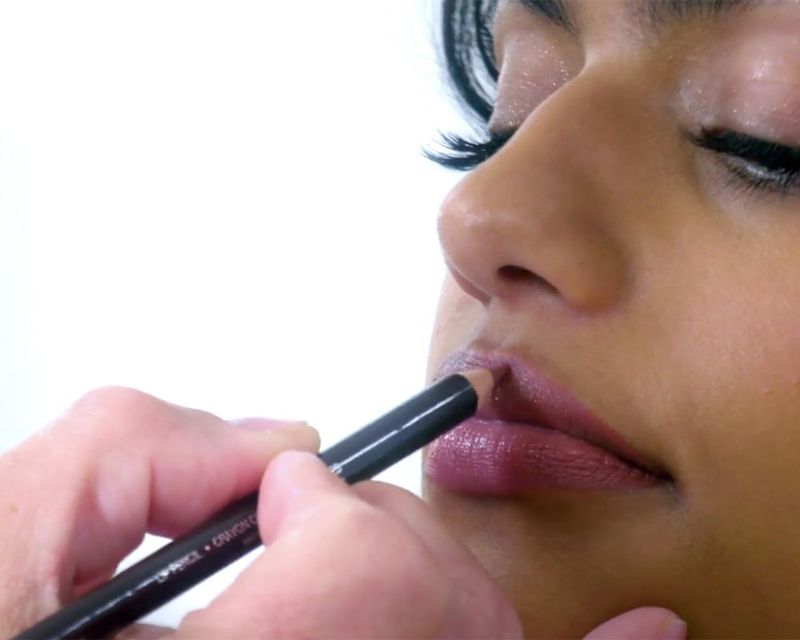
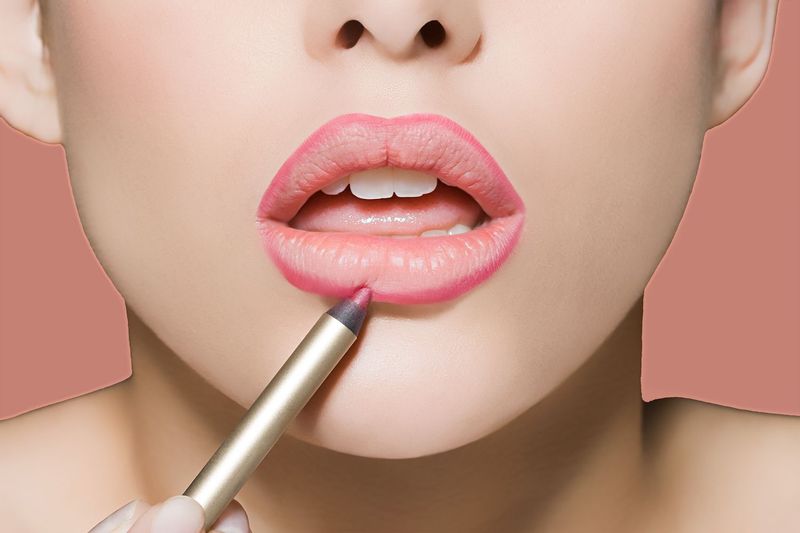
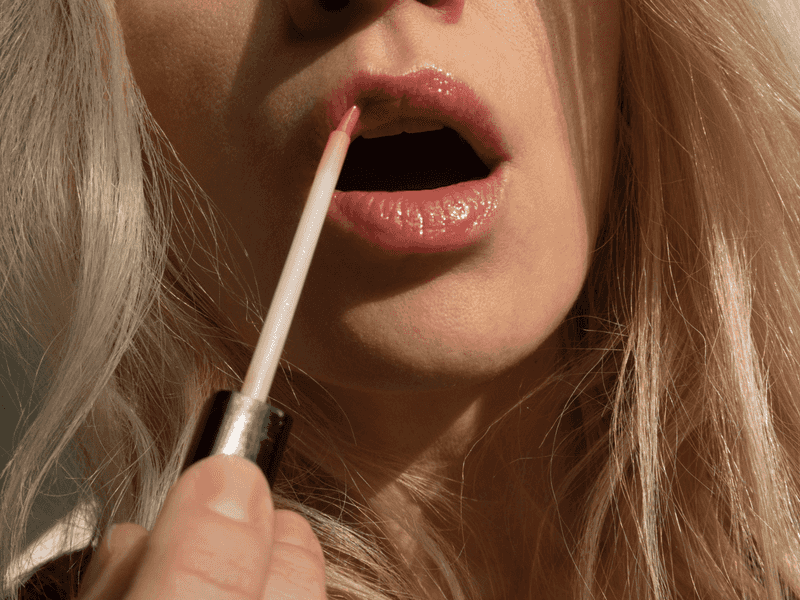
11. The Invisible Lip Liner Trick
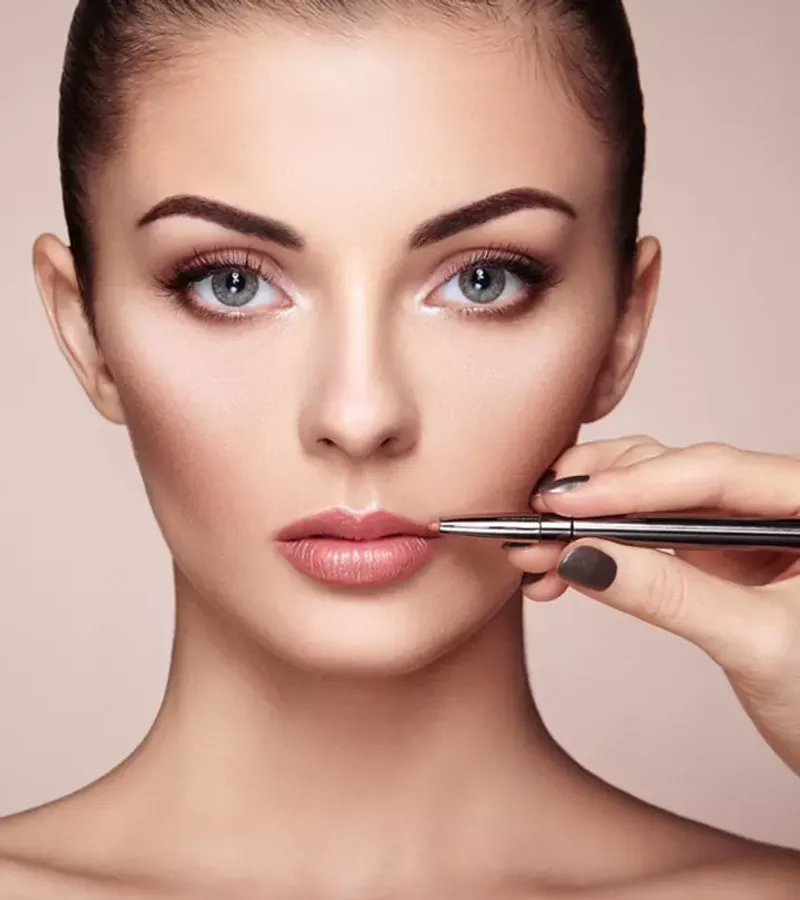
Here’s a pro secret: clear lip liner! This waxy miracle product creates an invisible barrier around your lips that prevents feathering and bleeding.
Simply trace outside your natural lip line before applying any color. I discovered this game-changer when working with older clients whose lipstick would migrate into fine lines—problem solved instantly!
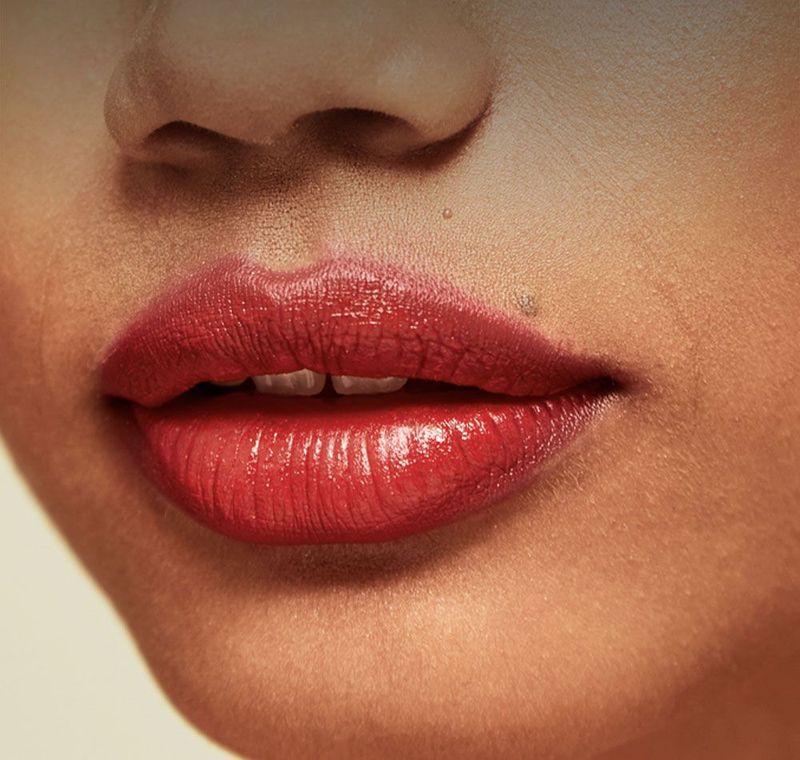
12. Ombré Effect For Maximum Dimension
Want lips that look fuller without fillers? The ombré technique is your new best friend! Apply a slightly darker shade at your lip edges, then a lighter, complementary color in the center.
Gently blend where they meet. Light reflects off the center, creating a plumping illusion. I’ve fooled magazine photographers with this trick—they thought my client had gotten injections!
13. Bottom-Heavy Lip Balance
If your bottom lip significantly outweighs your top one, here’s my favorite balancing act: Slightly overdraw your upper lip, especially at the cupid’s bow.
Meanwhile, apply lipstick strictly within your natural lower lip line. The result? Harmonious proportion that looks completely natural. My Broadway actress clients swear by this for stage makeup!
14. Top-Heavy Harmony Creation
Conversely, if your upper lip dominates, focus on bringing attention to your lower lip. Add a touch of highlighting gloss to the center of your bottom lip only.
For your upper lip, stay strictly within your natural line. When I used this technique on a TV presenter with a prominent upper lip, her smile looked noticeably more balanced on camera!
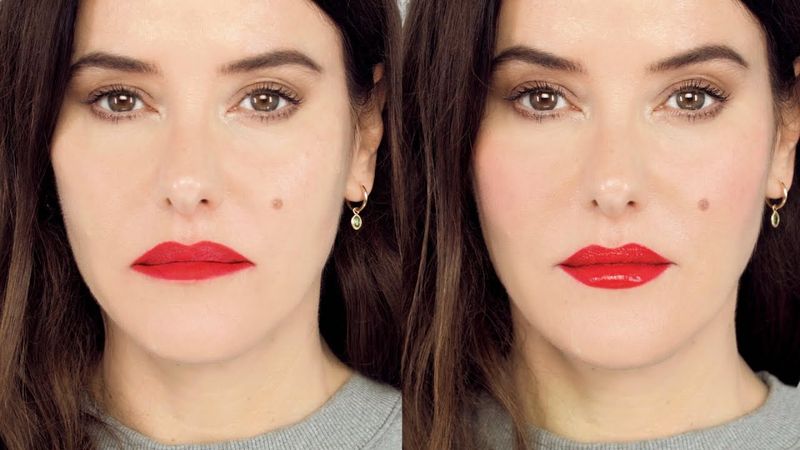
15. The Blotting Revolution
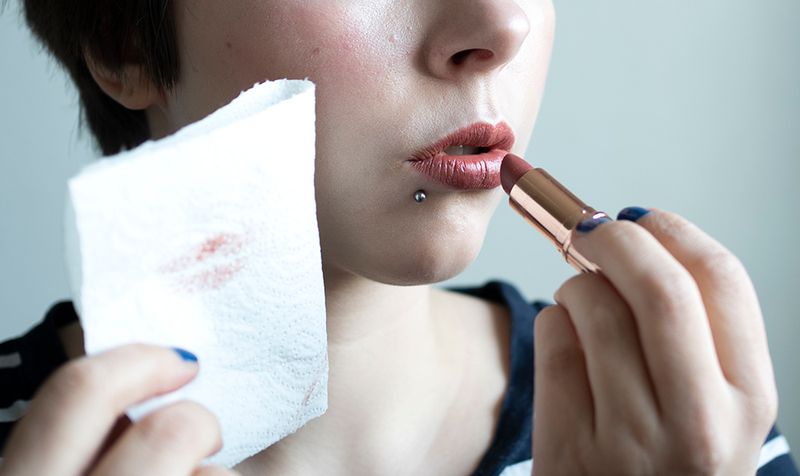
Want your lipstick to actually last through dinner? Apply, blot with a tissue, dust with translucent powder, then apply again.
This layering technique creates a stain effect that outlasts conventional application by hours. During a 12-hour wedding shoot in humid weather, my bride’s lips stayed perfect from “I do” to final dance!
16. Mature Lips Need Special Care
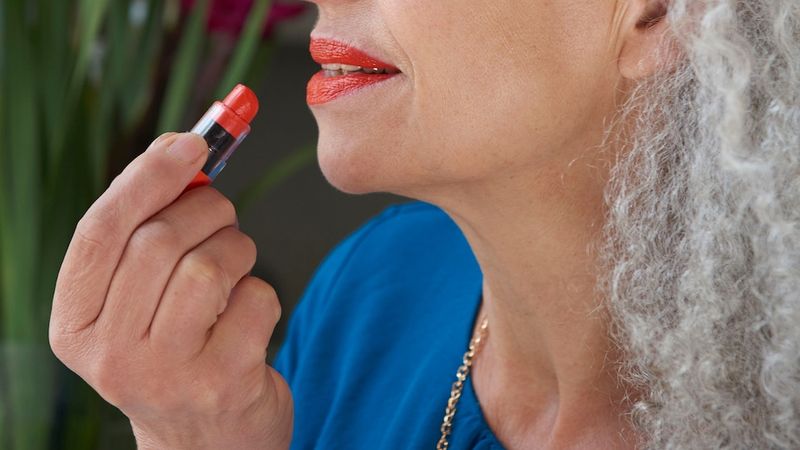
As we age, lips can thin and develop fine lines. Skip matte formulas which emphasize texture issues; instead, opt for hydrating, satin-finish lipsticks.
A dedicated lip primer fills in lines before color application. My 70-year-old clients are amazed when they see how this approach makes their lips look years younger!
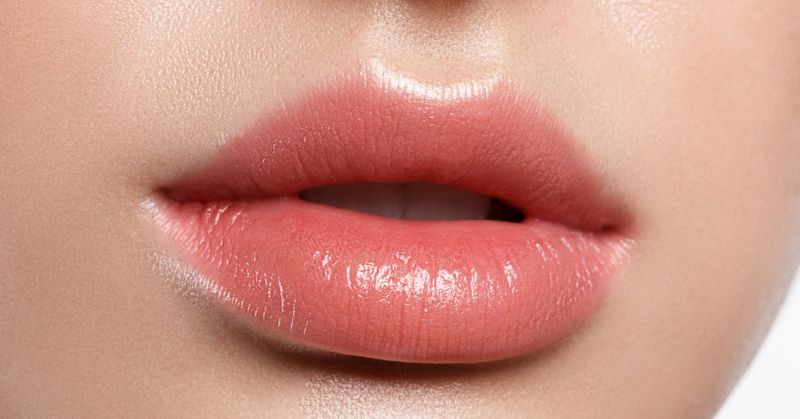
17. Lip Oils: The Modern Gloss Alternative
If traditional glosses feel too sticky but you want shine, lip oils are your new holy grail! They deliver hydration and subtle color without the hair-sticking nightmare of glosses.
Perfect for casual looks or layering over matte lipsticks. When a client complained about gloss but wanted shine, introducing her to lip oils literally changed her makeup routine forever!
18. Custom Color Mixing Magic
Bought a lipstick that’s not quite right? Don’t toss it—mix it! Using a clean lip brush, combine it with another shade on the back of your hand before application.
This creates truly custom colors that perfectly complement your complexion. My kit always includes a mixing palette because bespoke lip colors make every client feel special!